How to Prep Art for Custom Printing
June 1, 2026 · Los Angeles Printing Depot
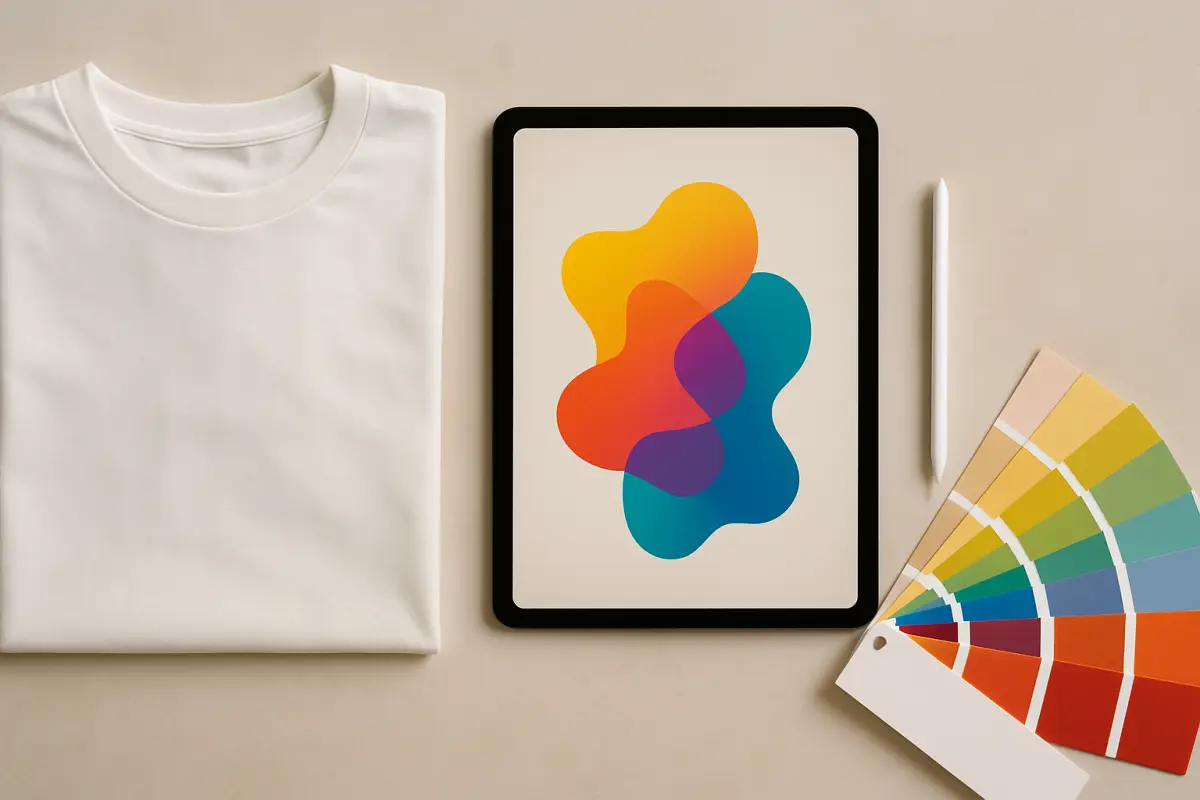
Ninety percent of "my print looks bad" problems are really artwork problems — and they're easy to avoid. Five minutes of prep gets you a crisp result.
Vector vs. raster
Vector art (AI, EPS, SVG, PDF) is built from math, so it scales to any size with perfectly clean edges — ideal for logos and text. Raster art (JPG, PNG) is made of pixels; blow it up and it goes soft and blocky. If you have a vector logo, always send that.
Resolution: aim for 300 DPI at print size
For raster art, what matters is pixels relative to physical print size. A good target is 300 DPI at the size it'll print — so a 12-inch-wide front print wants roughly a 3,600-pixel-wide image. A tiny logo pulled off a website (a few hundred pixels) will print pixelated. Bigger source files are always safer.
Lose the white box
A JPG of a logo almost always carries a white rectangle behind it — fine on a white shirt, obvious on any other color. Use a transparent PNG (or a vector) so only the art prints. If all you have is a white-background file, our background-removal tool in the designer can clean it up in one click.
A quick checklist
- Vector if possible; otherwise high-resolution raster (300 DPI at print size).
- Transparent background — no white box.
- Convert text to outlines, or tell us the font.
- For screen printing, keep colors to solid, separable shades.
Not sure your file is good enough? The designer shows a print-quality indicator as you size your image, so you'll know before you order.
Keep reading
Custom T-Shirt Printing in Los Angeles: A Local's Guide
Everything an LA business, team, or event needs to know to get great custom shirts fast — methods, turnaround, and how to order online.
How Much Do Custom T-Shirts Cost? (2026 Pricing Guide)
A clear breakdown of what drives custom shirt pricing — and the quantity where screen printing overtakes DTG.
Screen Printing vs DTG: Which Do You Need?
A no-nonsense breakdown — when each method wins, and how quantity changes the math.